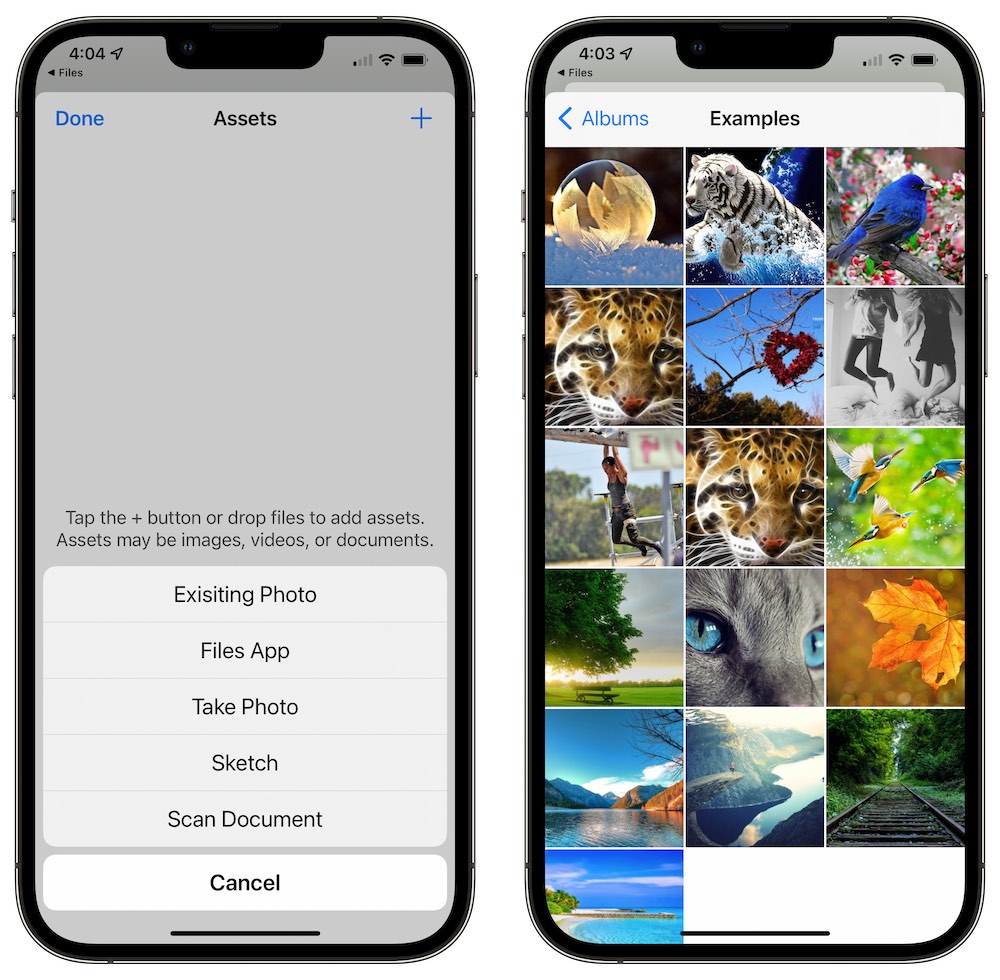
The options given:
- Existing Photo: This option opens the photo library. The user will be asked to give the permission the first time it is used.
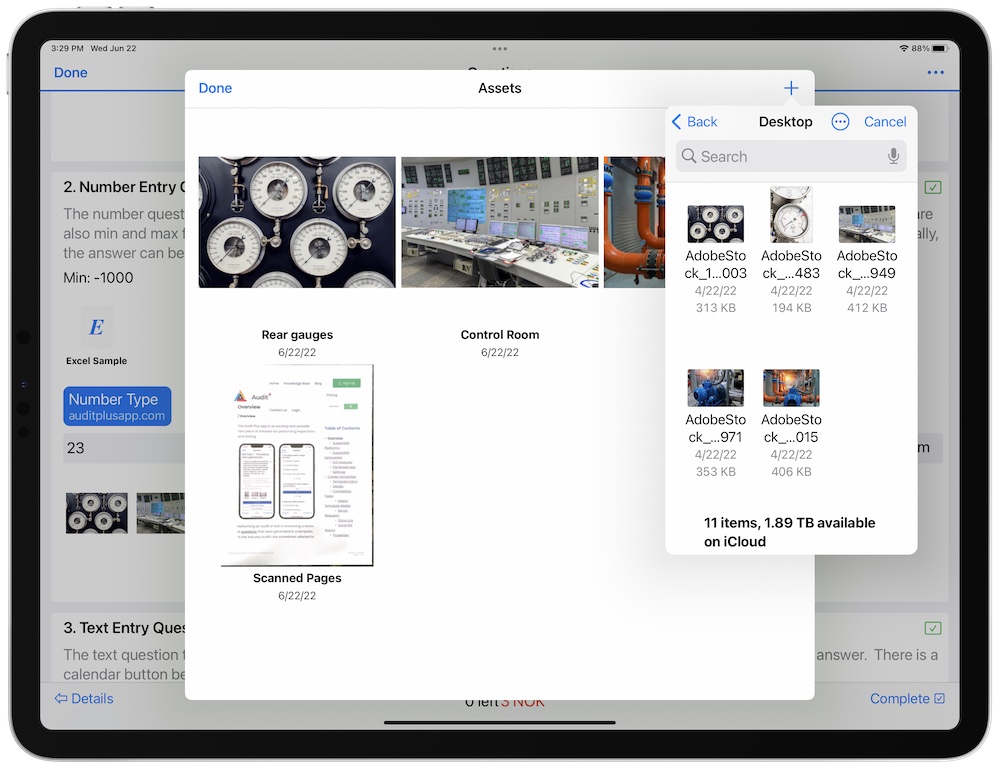
- Files App: This option opens the files app, and the user may choose media from the file system.
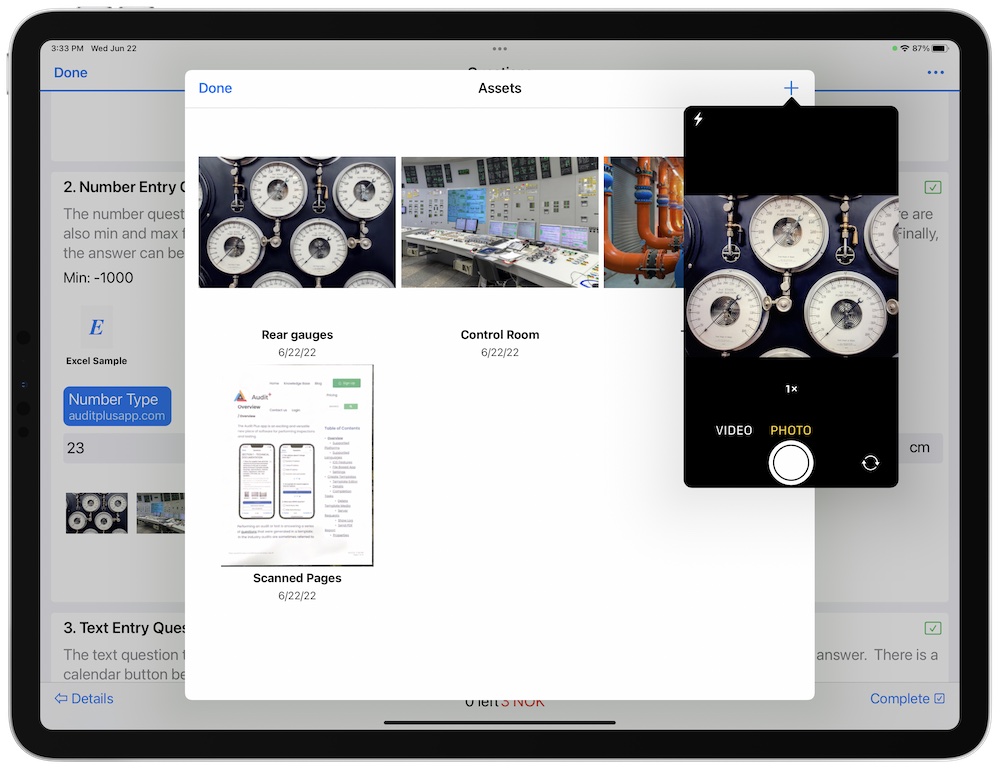
- Take Photo: This option opens the camera, which the user is given the chance to take a photo or video.
When exporting an audit as a PDF, videos will only share one frame.
- Sketch: This option opens Audit Plus’ Sketch screen. We offer some more functionality than apple’s controls.
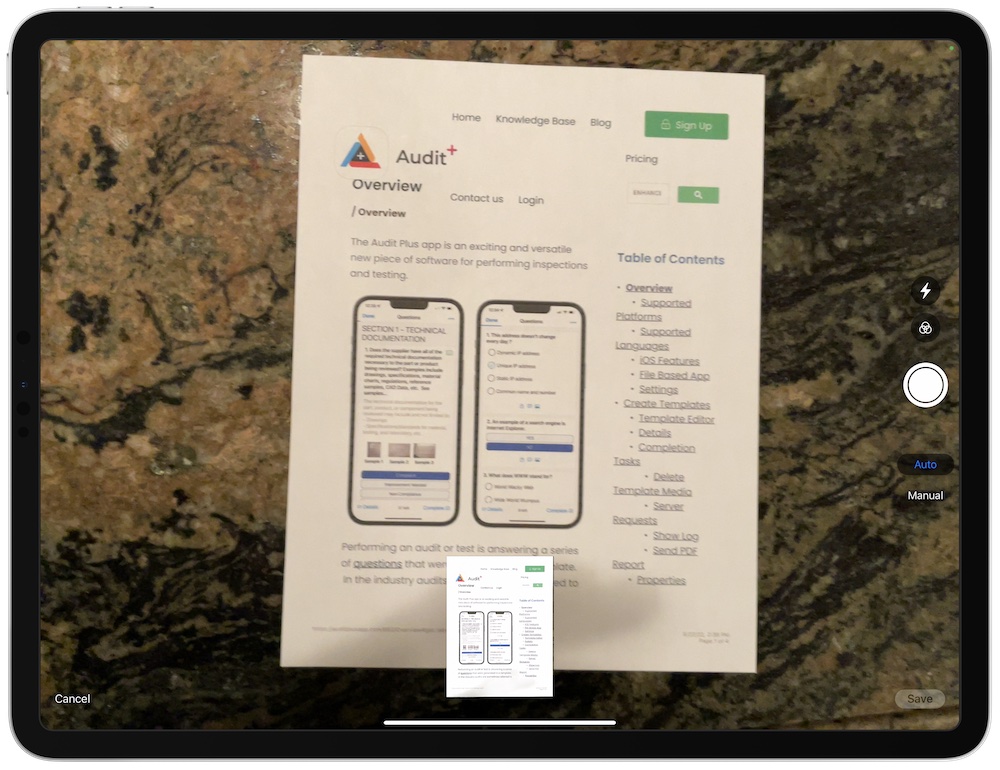
- Scan Document: This opens the document scanner, which the user can scan one or more documents. When finished the documents will be stitched together as a PDF.
Existing Photo
The existing photo option will bring up a chooser for your photo library.
The asset screen supports drag and drop for you to place assets in faster.
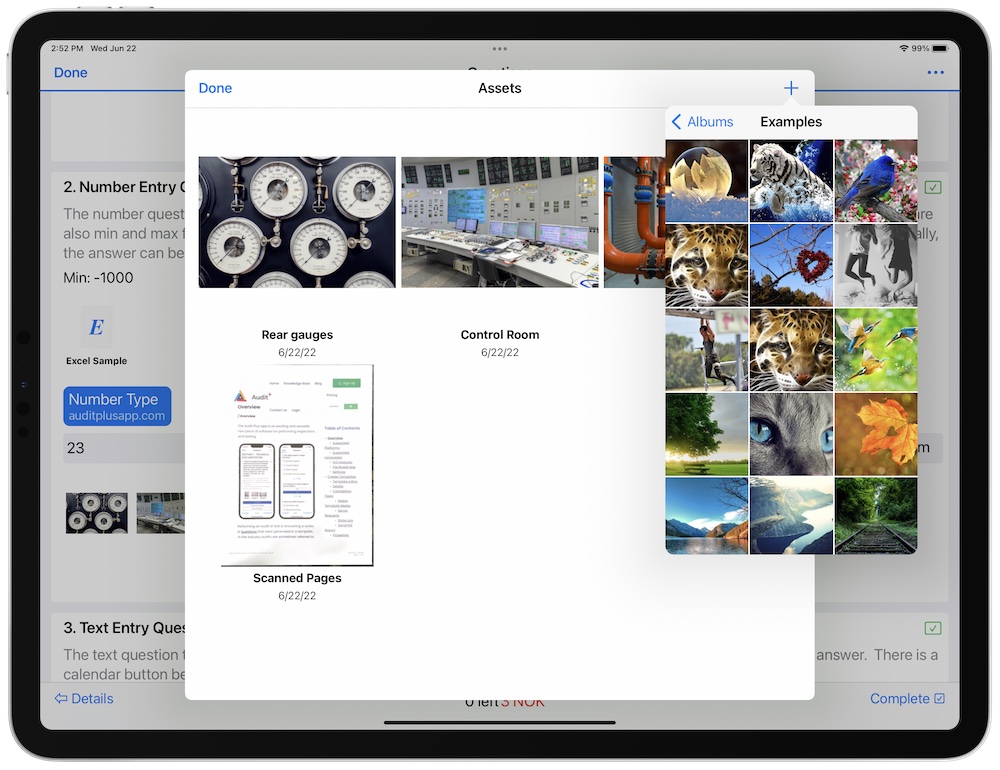
Select the photo you wish to add to your question’s assets. After you add the photo, a document viewer will be immediately raised with your photo. In this viewer you have the option to markup the photo (see below) by tapping the draw button in the upper right toolbar.
If desired, the option to raise the document viewer after adding can be turned off in settings.
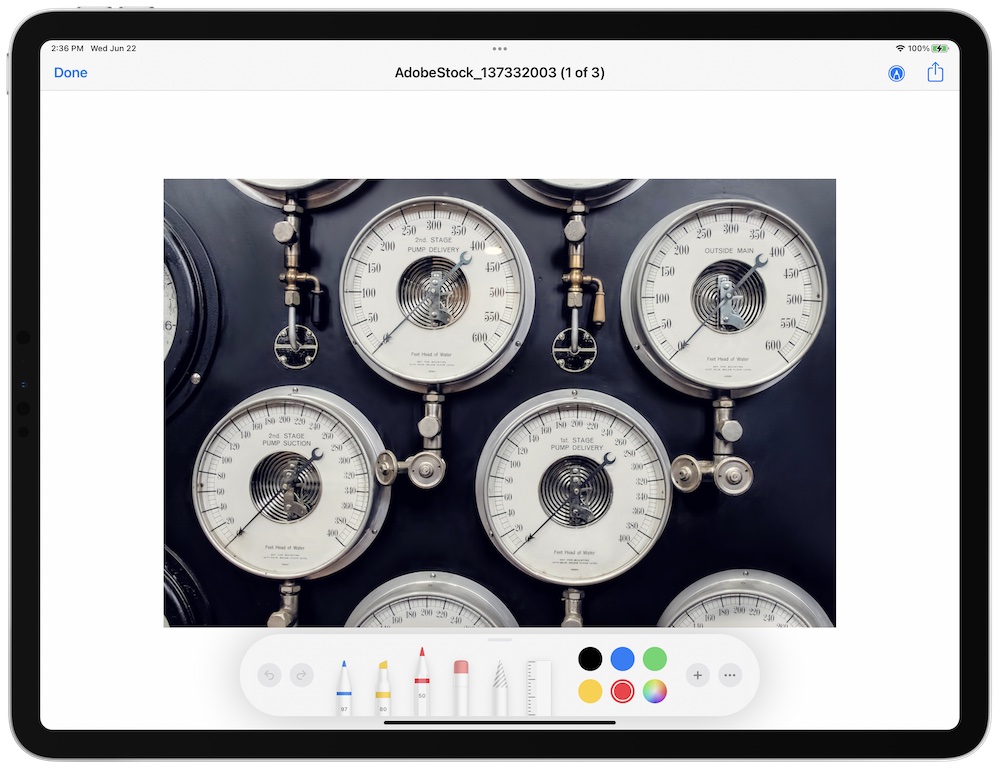
These markup controls are provided by Apple, and are a good fast way to jot notes on the asset. Later we will show a sketch component we created that we feel adds even more value than Apple’s control.
Files App
The Files app lets you select files from your file system. You may use the files app to navigate to find media in your chosen cloud network files (iCloud, Dropbox, OneDrive, Google Drive, etc..). You may also find files on connected servers or NAS (network assisted storage).
Take Photo
Select this option to take a photo or video.
Sketch
Audit Plus created its own sketch component. While Apple’s tools allow you to mark up a photo our sketch adds more features. It offers shape detection for lines, circles,, triangles and rectangles, so that you can draw them perfectly. It supports drag and drop of photos. You can add multiple photos to the canvas. There are options to change the background color or add a grid. We’ll explain the features below the screenshot.
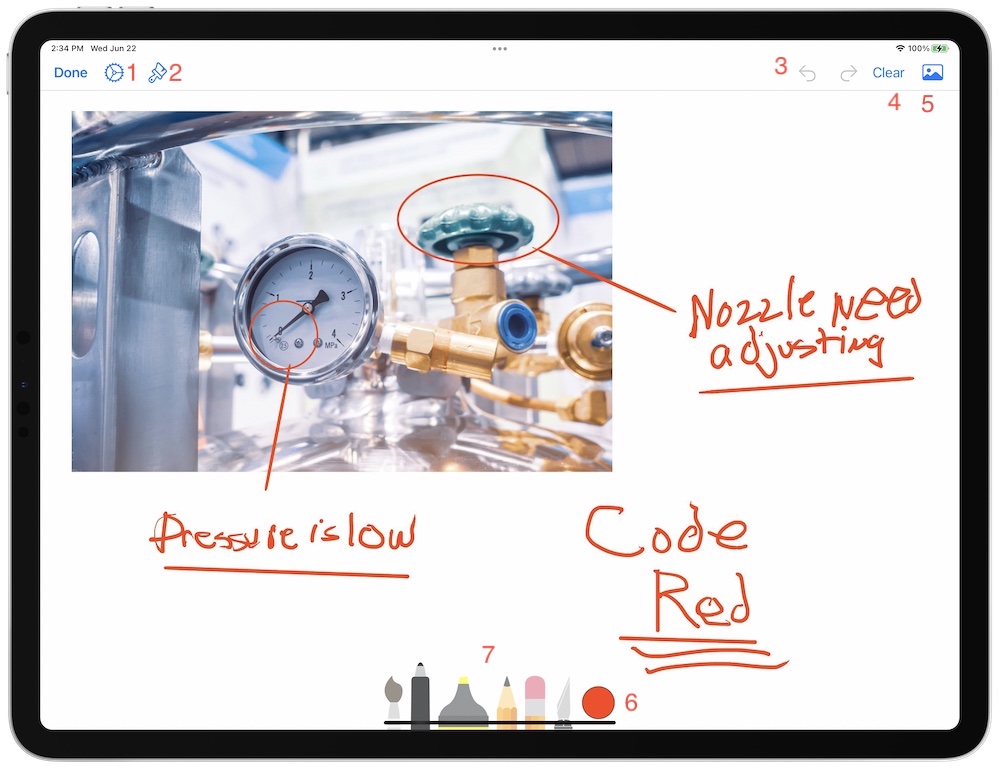
- Settings: The settings for sketch contains multiple options.
- Options to turn on and off shape detection.
- An option to to change the behavior of the Apple pencil.
- Settings for the width of the stroke of each tool.
- An option to change the transparency of the marker.
- Background Options: A menu that allows for setting the background color or adding a grid to the canvas.
- Undo and Redo: Very handy to back out. Change the setting for Apple Pencil’s double tap to engage undo as well.
- Clear: Use this to clear the canvas. You may undo it if necessary.
- Add Media: There are 3 ways of adding media by using the photo library, files app and camera. This will add media to your canvas you have the option to resize it before placing it in. There is also a menu item to share the current canvas.
- Color Pallet: You can change the color of the tool’s stroke by using the color pallet.
- Sketch Tools: The sketch component offers some differing tools.
- Paint Brush - A thicker stroke.
- Pen - A more medium stroke.
- Marker - A thicker translucent stroke.
- Pencil - A thinner stroke.
- Eraser - A stroke that erases.
- Lasso Tool - Encircle items to move them around the canvas or change their height and width. You can tap them to copy and paste.
Scan Document
Use document scanner to stitch together documents you wish to insert.